Using Dat for automatic file backups
Here's a short tutorial about how to use the dat command line tool, plus a couple other fun utilities we have written, to automate the backup of files in real time from your local machine to a remote computer over an encrypted Dat connection.
In this example I'll be configuring Dat to automatically upload any screen shots I take on my Mac by monitoring my Desktop for images with 'Screen Shot' in the name. But you can easily tweak this workflow to backup any set of files or folders you want.
Note: This is written from the perspective of a Mac OS user, so if you're on Windows some of these steps might not make much sense, but it should all work.
- Install Dat and Monu
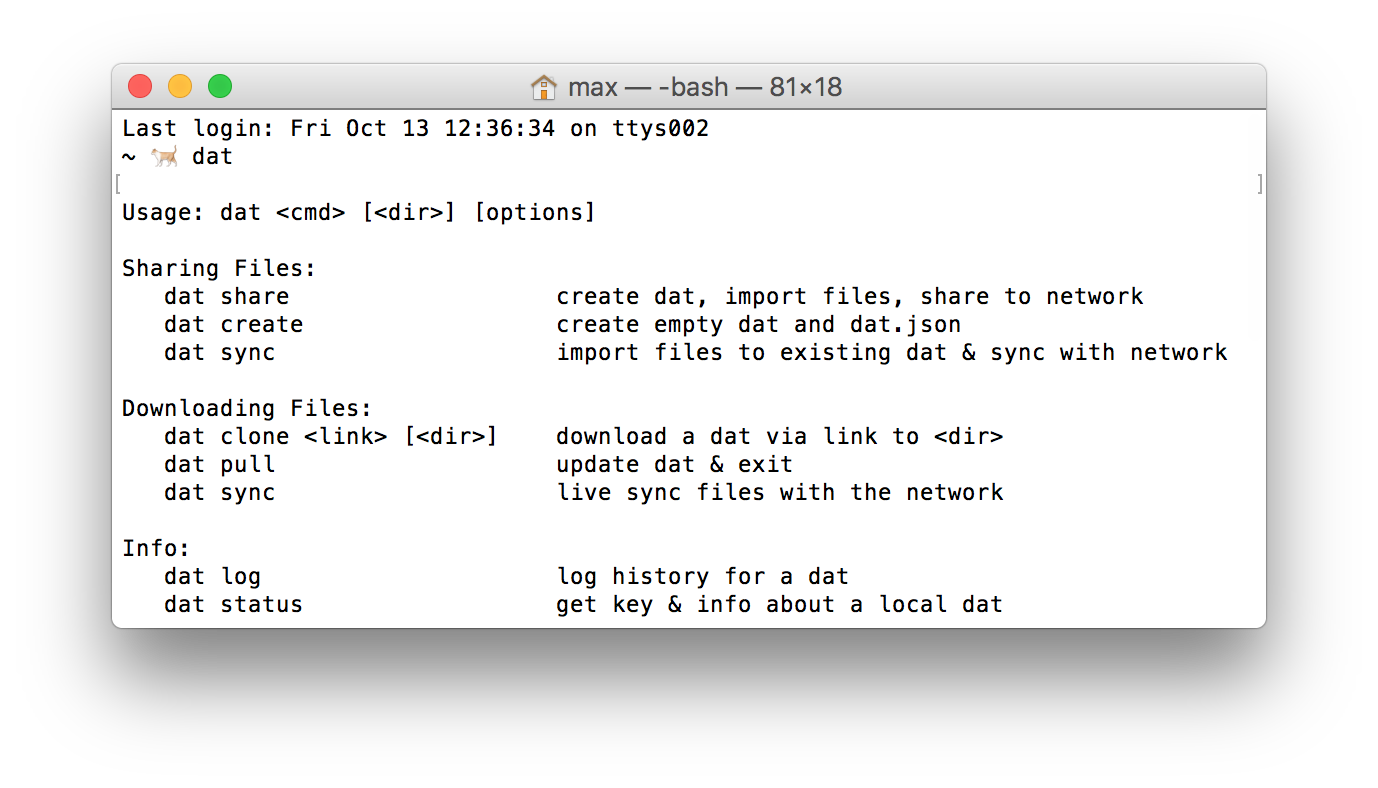
You'll need to install Node.js, we recommend the LTS version. Once that's done, you should be able to open up Terminal.app and run npm install dat -g. You might need to put sudo in front if you get a permissions error. To check that you have dat installed, simply type dat and you should see something like this:.
Next you'll need a copy of the Monu menubar application. This is a program I wrote that runs a set of processes for you in the background. Unzip it and put it in your /Applications folder, then right click > Open it to launch it. When running, it should look like a pair of glasses in your Menubar. You can add it to your Login Items in System Preferences if you want it to boot all your processes on boot.
- Configure Dat and Monu
In Terminal, cd into your Desktop and run pwd to print the current path. It should be something like /Users/max/Desktop. Then run this command, but replace the path with your path:
dat share /Users/max/Desktop --ignore='!**/Screen Shot*.png' --ignore='**/**'
This creates a .dat folder on your Desktop, and starts to monitor your Desktop for any Screen Shots. You can tweak the first --ignore as well as the path to select which files to match. If you take off both the --ignore arguments it will simply upload everything. The ignore commands are currently a little confusing, but we're working on making this kind of workflow easier.
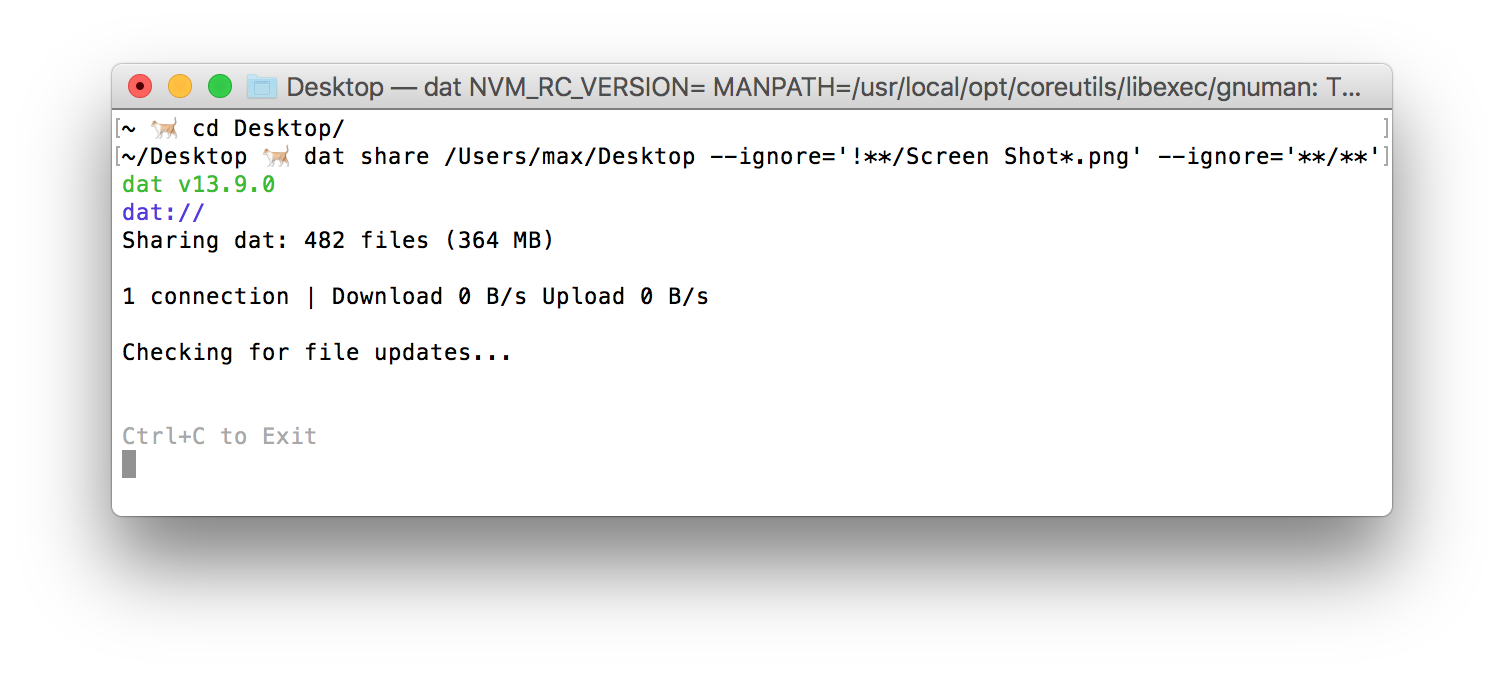
Above is this command running on my computer (I have a lot of Screen Shots on my Desktop). Note I have removed my secret Dat link, to make sure nobody can download my Screen Shots except me :)
Once you have it working in the Terminal, hit CTRL+C to exit the share process, and let's move on to getting it set it up to run automatically using Monu. Open Monu and click on 'Open Config Folder', and then open the config.json file in a text editor and add an entry like this:
{
  "logs": "./logs",
  "pids": "./pids",
  "processes": {
    "dat-desktop-png": "dat share /Users/max/Desktop --ignore='!**/Screen Shot*.png' --ignore='**/**'"
  }
}
You can name the process anything you want, I just happened to call mine dat-desktop-png. On the right side, make sure you paste the exact command you had working correctly from the Terminal (Don't use /max/ in your path if you are copy pasting!).
As soon as you save the config.json you can open Monu again and you should see this:
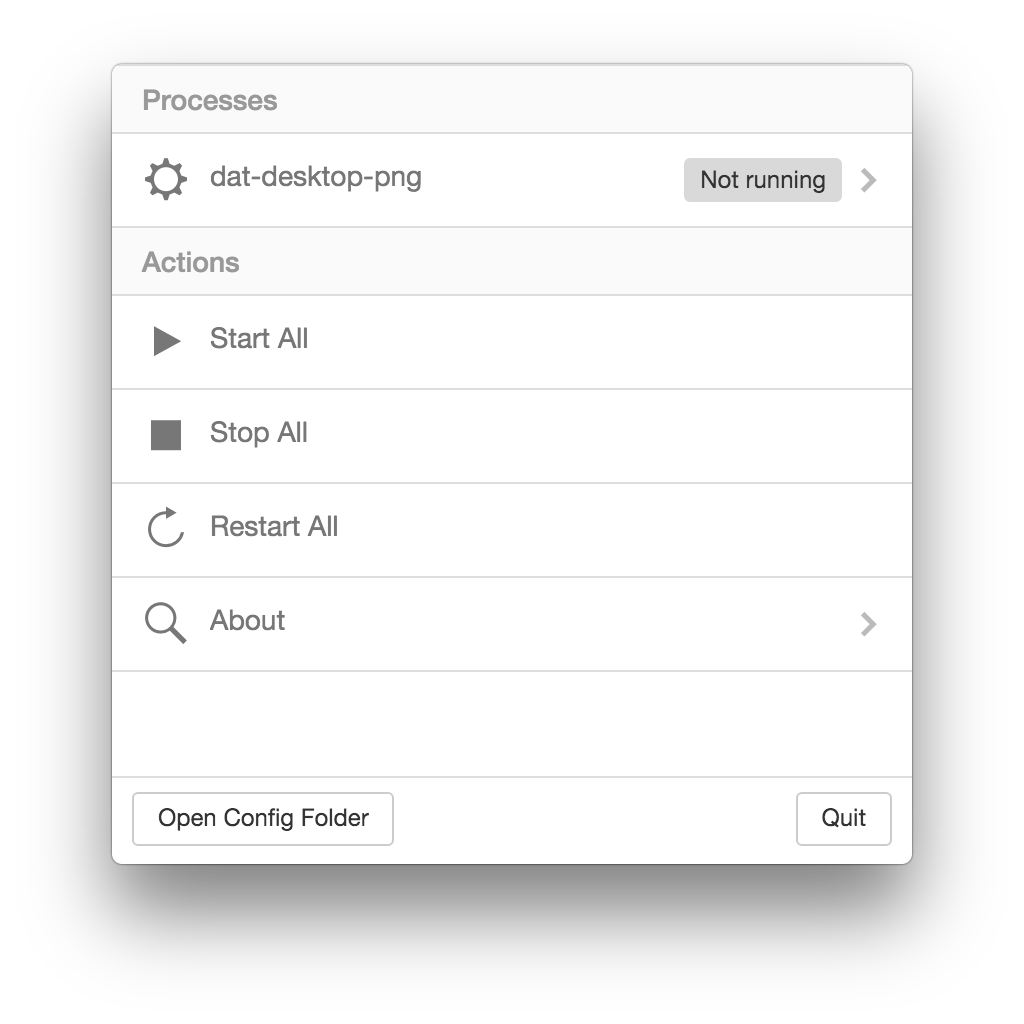
If you click on it, and click Start, and then go back, It should show up as green and say Running. This means the same Dat process you were running a minute ago in the Terminal is now running in the background, managed by Monu. The logs for this are stored in the same Config folder in case you want to see what output the process has produced.
- Sync your data somewhere!
On another computer, take the Dat link that was printed out in your Terminal when you first ran dat share (you can cd ~/Desktop and run dat link if you need it again) and run: dat clone <your-link-here>. If you just wanna try it out on one machine, you can clone your Dat into a different folder.
To back up in real-time run dat sync in the remote location after the initial clone. As long as you are running dat sync and dat share in two places, any new Screen Shots will be synced in real time and backed up. You can test this by monitoring the two folders, and then taking a screen shot with CMD+SHIFT+4. It should show up on your Desktop first, then shortly in the remote folder.
To stop syncing, simply open Monu and stop the Dat process. Later, to resume syncing where it left off, start it again.
- Store all previous versions
Instead of using dat sync on the remote end, consider setting up an instance of hypercore-archiver-bot, an IRC bot that you can tell to automatically sync and seed a Dat repository. The advantage of the bot is that it stores all old versions of data as well, not just the latest files (which is how the Dat CLI currently works). We have a bot set up to join our Slack via IRC, so that anyone in our Slack can mirror their Dats on a server with lots of storage.
We're still working on making this stuff easier. Let us know if you have improvements we can make to this use case!